
How to Install a WordPress Theme and Import Demo Content
How to Install a WordPress Theme and Import Demo Content
A WordPress theme can give your website a professional starting design within minutes. However, installing the theme is only the first part. You may also need to activate required plugins, import the demo content, choose the correct homepage, rebuild menus, and replace sample material with your own content.
This beginner-friendly guide explains how to install a WordPress theme and import demo content safely. The exact names of buttons may differ between themes, but the overall process is similar for most free and premium WordPress themes.
What You Need Before Installing a WordPress Theme
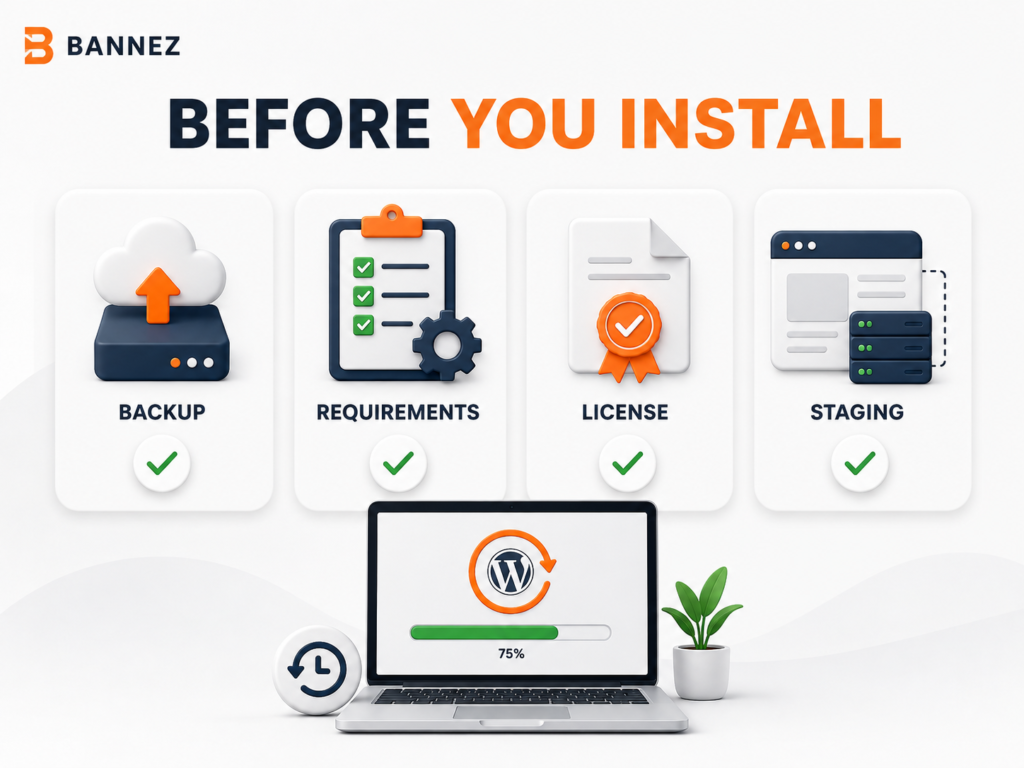
Preparation prevents most theme installation and demo import problems. Complete the following checks before you make changes.
1. Create a Full Website Backup
Back up both your WordPress files and database. A database-only backup is not enough because theme files, uploads, and plugin files are stored separately. Confirm that you know how to restore the backup before continuing.
2. Check the Theme Requirements
- Confirm the required WordPress and PHP versions.
- Check whether the theme needs a parent theme.
- Review the required and recommended plugins.
- Make sure your hosting has enough memory and execution time for demo import.
- Download the installable theme ZIP, not the complete marketplace package.
3. Read the Theme Documentation
Theme developers often use their own demo importer and setup steps. Read the official documentation supplied with your theme. It should explain which file to upload, which plugins to activate, and how to import the correct demo.
4. Use a Staging Website When Possible
If your site already has visitors, orders, or important content, test the new theme on a staging copy. This lets you identify layout and compatibility problems without changing the live website.
How to Install a WordPress Theme from the Dashboard
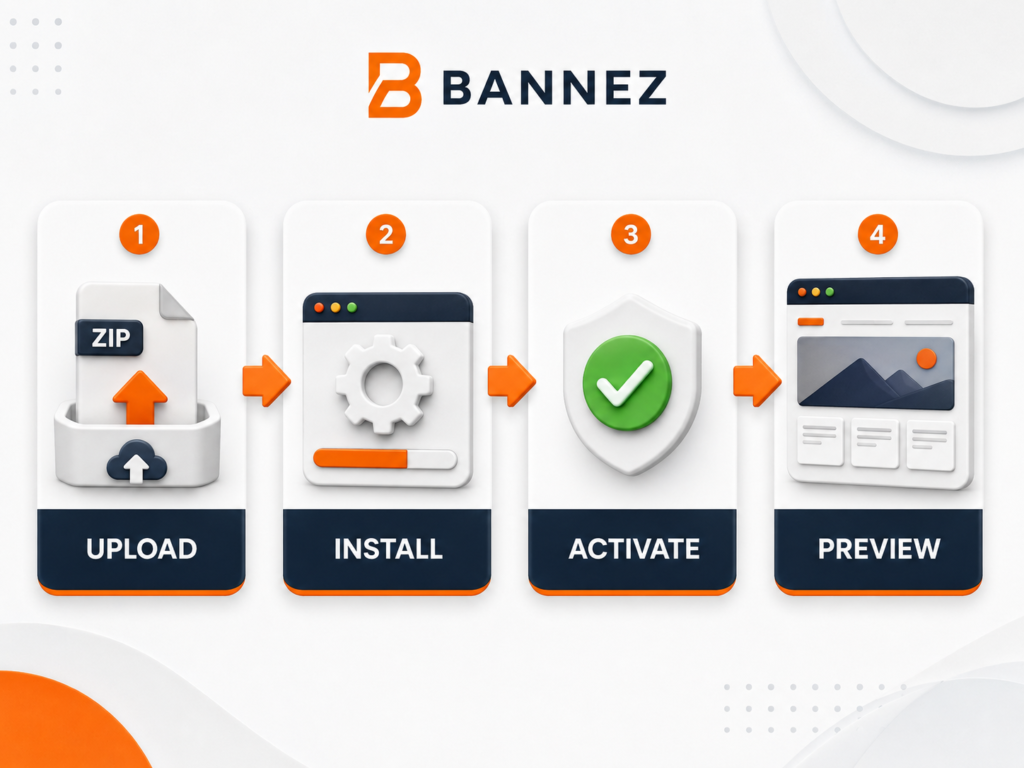
The WordPress dashboard is the simplest installation method for most users. The official WordPress Themes documentation confirms that a downloaded ZIP can be uploaded through Appearance > Themes > Add New.
Step 1: Open the Themes Screen
- Log in to your WordPress admin dashboard.
- Go to Appearance > Themes.
- Click Add New Theme.
Step 2: Upload the Theme ZIP File
- Click Upload Theme.
- Click Choose File.
- Select the installable theme ZIP file from your computer.
- Click Install Now.
If WordPress displays “The package could not be installed. The theme is missing the style.css stylesheet,” you probably uploaded the full download package instead of the installable theme file. Extract the downloaded package on your computer and look for the theme-only ZIP.
Step 3: Install the Parent Theme if Required
Some themes are child themes and cannot work without their parent theme. Install the parent first, then install and activate the child theme. Do not activate both; WordPress activates only one theme at a time.
Step 4: Activate and Preview the Theme
Click Activate after installation. Open the front end in a private browser window and check the homepage, header, footer, blog, and mobile layout. WordPress provides more information about activation and manual installation in its official guide to working with themes.
Alternative Ways to Install a WordPress Theme
| Method | Best for | Main requirement |
|---|---|---|
| WordPress dashboard | Most beginners | Installable ZIP within the upload limit |
| Hosting file manager | Large theme files or dashboard upload errors | Hosting panel access |
| SFTP | Manual troubleshooting and controlled uploads | SFTP credentials and a desktop client |
Install Through a Hosting File Manager
Open your hosting file manager, go to wp-content/themes, upload the theme ZIP, and extract it. The theme folder should directly contain files such as style.css. Return to Appearance > Themes and activate it.
Install Through SFTP
Extract the theme ZIP on your computer, connect to the server through SFTP, and upload the theme folder to wp-content/themes. SFTP is safer than plain FTP because the connection is encrypted.
How to Import WordPress Demo Content
Demo content recreates some or most of the theme developer’s sample website. Depending on the theme, it may add pages, posts, images, menus, widgets, templates, and theme settings.
Step 1: Install Required Plugins
After theme activation, look for a setup wizard or a notice asking you to install plugins. Install only the plugins required for the demo or features you plan to use. Too many unnecessary plugins can increase maintenance and create compatibility risks.
Step 2: Find the Demo Import Tool
Common locations include:
- Appearance > Import Demo Data
- Theme Panel > Demo Import
- Tools > Demo Import
- A theme setup wizard shown after activation
Step 3: Choose the Correct Demo
Premium themes may include many demos for different industries. Preview the options and select the one closest to your required layout. Confirm whether the importer will install all pages or let you choose individual parts.
Step 4: Start the Import and Wait
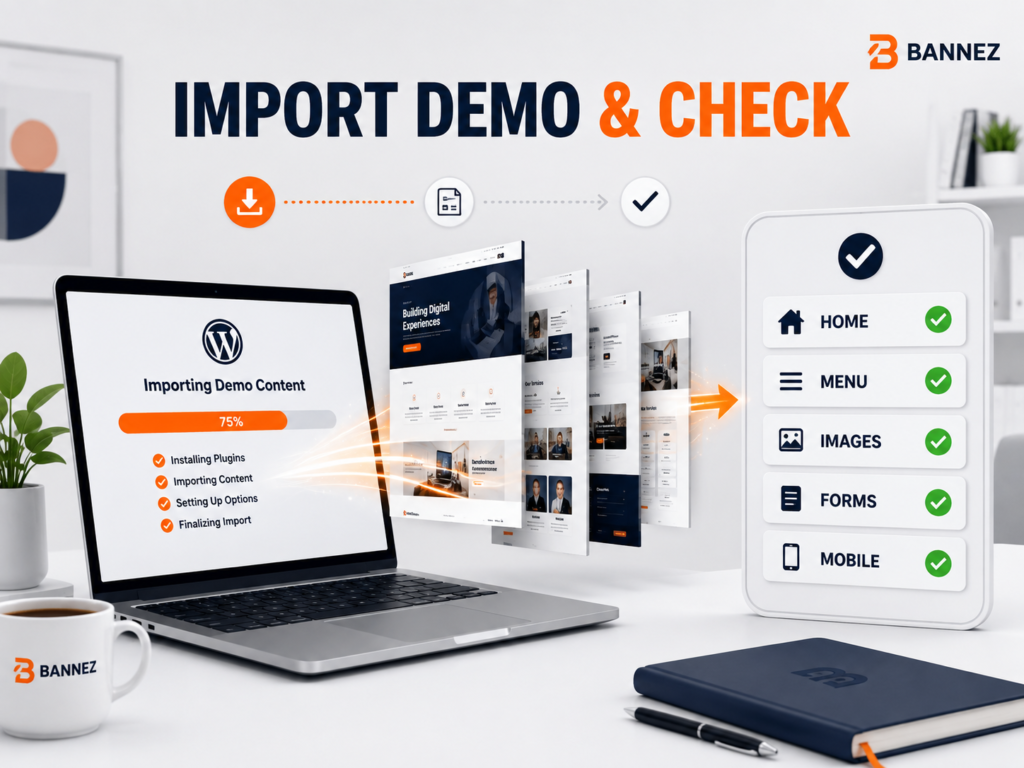
Keep the browser tab open. Do not refresh the page, click the import button repeatedly, or close the window while the process is running. A large import can take several minutes.
Step 5: Use the WordPress Importer When a WXR File Is Supplied
If the theme includes a WordPress export file, go to Tools > Import and use the WordPress importer. According to the official Tools Import documentation, WordPress can import posts, comments, custom fields, pages, and categories from a WordPress export file.
What to Check After Importing Demo Content
Set the Homepage and Posts Page
Go to Settings > Reading. Select a static homepage if the demo uses one, then choose the correct page. Assign a separate posts page if your website includes a blog.
Review Menus and Navigation
Open Appearance > Menus or Appearance > Editor, depending on your theme. Remove duplicate menus, assign the correct display locations, and replace sample links.
Replace All Demo Content
- Change the logo, site title, favicon, and contact details.
- Replace demo text and licensed sample images.
- Update buttons, forms, social links, and calls to action.
- Delete unused pages, posts, templates, and media.
- Check copyright text and legal pages.
Test Important Website Functions
Submit each contact form, test navigation, inspect the website on mobile, and confirm that images load correctly. If the site includes an online store, test product, cart, checkout, account, and transactional email flows.
Common WordPress Demo Import Problems
| Problem | Likely cause | Practical fix |
|---|---|---|
| Import stops or times out | Low PHP limits or server resources | Increase memory, execution time, and upload limits through your host |
| Pages load without styling | Required plugin is inactive | Install and activate the theme’s required plugins |
| Images are missing | Remote downloads failed or were blocked | Retry only the media part if supported, or upload replacements manually |
| Homepage looks different | Wrong homepage or template selected | Review Settings > Reading and the page template |
| Duplicate pages and menus | Importer was run more than once | Remove duplicates carefully or restore the pre-import backup |
| 404 errors appear | Permalink rules need refreshing | Open Settings > Permalinks and save the settings once |
WordPress Theme Installation Checklist
- ☐ Full files and database backup created
- ☐ Theme and hosting requirements checked
- ☐ Correct installable ZIP identified
- ☐ Parent theme installed if required
- ☐ New theme installed and activated
- ☐ Required plugins installed
- ☐ Correct demo selected and imported once
- ☐ Homepage and menu locations assigned
- ☐ Demo text, images, and links replaced
- ☐ Forms, mobile layout, speed, and key pages tested
Frequently Asked Questions
Will installing a new theme delete my pages and posts?
Normally, installing or activating a theme does not delete your posts and pages. However, the layout, widgets, menus, and theme-specific features can change. Demo import may also add new content, which is why a backup is essential.
Why does my website not look like the theme demo?
The demo may depend on specific plugins, imported settings, a selected homepage, menu assignments, and theme options. Confirm that the complete import finished and follow the theme developer’s setup documentation.
Can I import demo content on an existing website?
You can, but it may create duplicate content or overwrite settings. Use a staging website and a full backup, especially when the live site already has pages, users, orders, or traffic.
Should I delete demo content after setup?
Yes. Remove any unused sample pages, posts, images, products, menus, and forms. Keeping unnecessary demo material can confuse visitors, waste storage, and create thin or duplicate pages.
Can Bannez install my WordPress theme and demo?
Yes. If you want the technical setup handled professionally, you can explore our WordPress Theme Installation & Demo Setup service. Our team can install the supplied theme, activate its required components, and set up the available demo according to the service scope.
Conclusion: Build on a Clean and Verified Foundation
A successful WordPress theme setup is more than clicking Install. Start with a restorable backup, upload the correct theme package, activate only the plugins you need, import the demo once, and carefully review every important page and function.
Before making the website public, replace all sample material, test it on mobile, submit its forms, and remove anything you do not need. This final review turns a copied demo into a reliable foundation for your own professional website.
