
What to Do After Installing a New WordPress Theme
What to Do After Installing a New WordPress Theme
Installing and activating a WordPress theme gives your website a new design framework, but it does not complete the website. The next steps determine whether the site becomes clear, secure, mobile-friendly, and ready for real visitors.
This practical checklist explains what to do after installing a new WordPress theme. Follow the steps in order, especially when you imported demo content or changed the theme on an existing website.
Quick Checklist After Installing a WordPress Theme
- Confirm the correct theme or child theme is active.
- Install only required plugins.
- Set the homepage and posts page.
- Add your logo, colors, fonts, and favicon.
- Build the main menu and footer navigation.
- Replace or remove all demo content.
- Check permalinks and important settings.
- Test mobile layouts, forms, buttons, and links.
- Review speed, security, backups, and search visibility.
- Create a fresh backup after the setup is complete.
1. Confirm the Correct Theme Is Active
Go to Appearance > Themes and check which theme is marked Active. If the theme includes a child theme, confirm whether the developer recommends activating the child theme while keeping the parent installed.
The official WordPress Themes screen documentation explains how themes can be installed, previewed, activated, updated, and deleted.
2. Review and Install Required Plugins
Many themes recommend plugins for page building, forms, sliders, custom fields, or demo import. Install the plugins marked as required for the layouts you plan to use. Treat recommended plugins as optional and add them only when they serve a real purpose.
Avoid Installing Everything Automatically
Every plugin adds code and maintenance. Too many unnecessary plugins can create conflicts, slow the admin area, and increase the number of updates you must manage.
3. Set Up the Basic Website Structure
Set the Homepage and Posts Page
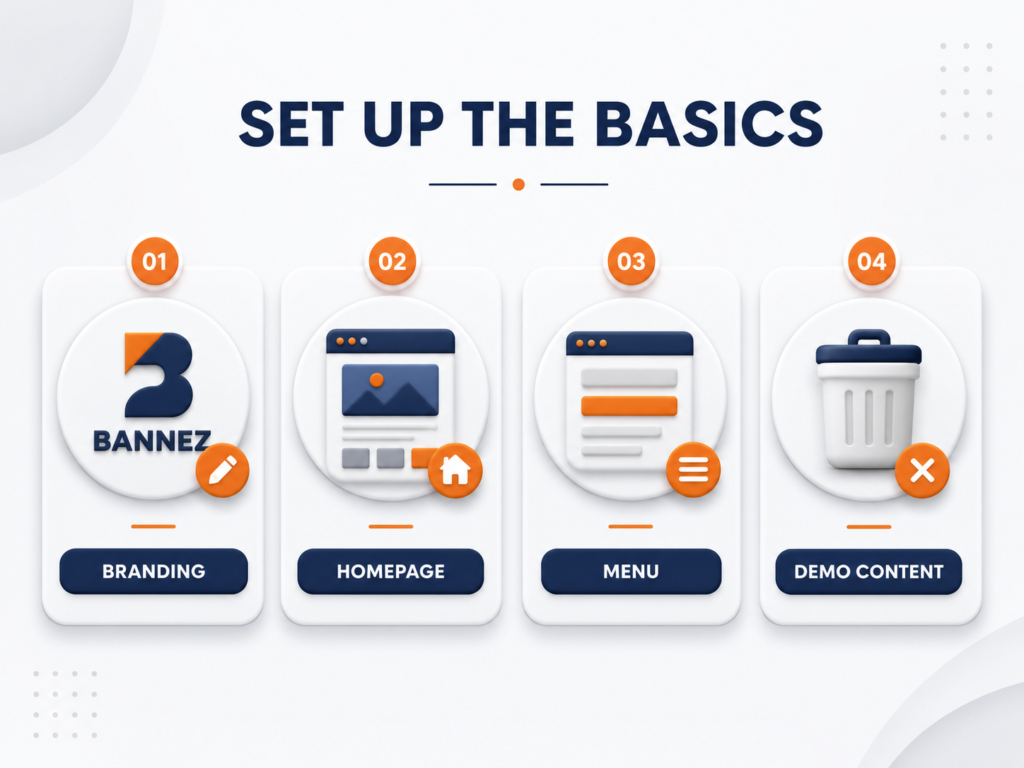
Go to Settings > Reading. Choose whether the homepage should display recent posts or a static page. For a business website, select the correct homepage and assign a separate page for blog posts if needed.
Create the Main Navigation
Add only the pages visitors need most, such as Home, About, Services, Blog, and Contact. Keep menu labels short and arrange them in a logical order. Check the mobile menu separately because long labels or too many items can make it difficult to use.
Configure the Header and Footer
Add the correct logo, contact details, important links, social profiles, and copyright information. Remove demo links and placeholder details. Keep the footer useful rather than filling it with unnecessary widgets.
4. Add Your Branding
Replace the sample logo, favicon, colors, and fonts. For block themes, the Site Editor can manage global styles. WordPress explains that its Styles controls can change colors, typography, layout, spacing, and the appearance of blocks across the website.
Keep Branding Consistent
- Use the same main colors across buttons, headings, links, and highlights.
- Limit the number of fonts and font weights.
- Use a clear logo with enough space around it.
- Check text contrast against every background.
- Keep button styles consistent across pages.
5. Replace and Remove Demo Content
Imported demo content is a starting point, not finished website content. Replace every sample page, image, testimonial, team member, address, phone number, social link, and call to action.
Delete What You Do Not Need
Remove unused demo pages, posts, products, forms, sliders, menus, and media. Check the Trash before emptying it, and keep a backup until you are confident nothing important was removed.
6. Review Essential WordPress Settings
| Setting | Where to check | What to confirm |
|---|---|---|
| Site title and tagline | Settings > General | Correct business name and useful tagline |
| Site URL | Settings > General | Correct HTTPS address |
| Timezone | Settings > General | Correct local timezone |
| Homepage | Settings > Reading | Correct static page or recent posts |
| Search visibility | Settings > Reading | Discouragement enabled only while appropriate |
| Permalinks | Settings > Permalinks | Readable URL structure |
| Comments | Settings > Discussion | Rules that match your site |
7. Check Every Important Page
Review the homepage, About page, service pages, blog, contact page, privacy page, and any account or store pages. Check headings, spacing, images, links, forms, and calls to action.
Use One Clear Page Purpose
Each page should help the visitor understand what it offers and what to do next. Remove sections that exist only because they appeared in the demo.
8. Test Responsive Design and Website Functions
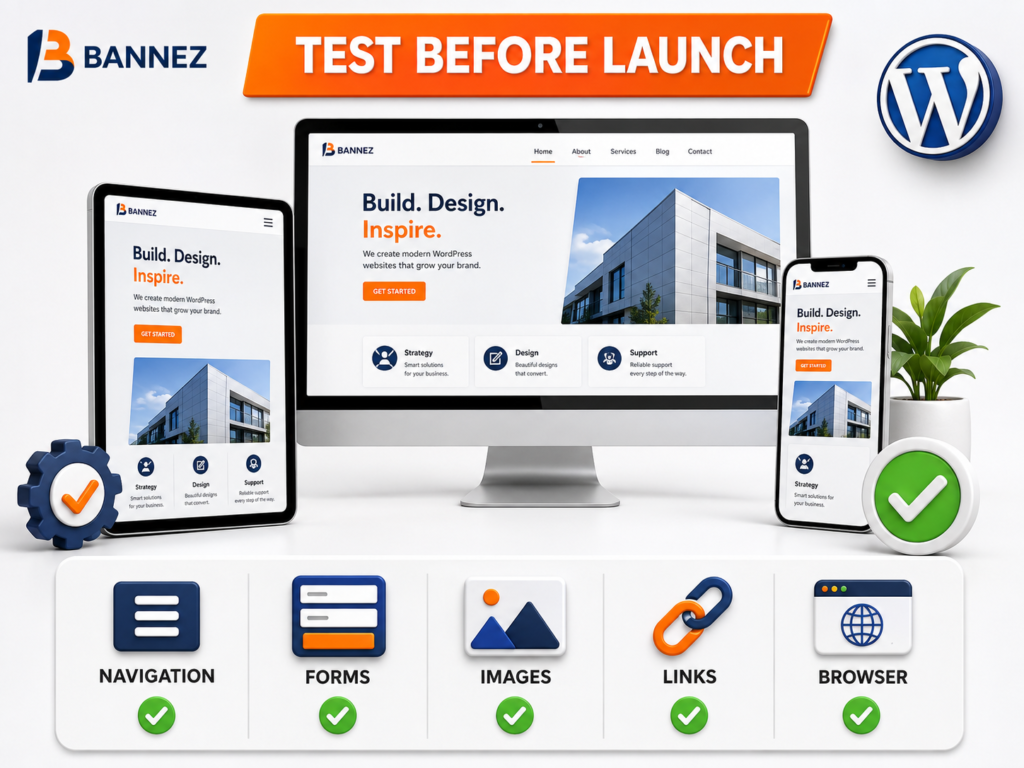
Test on Multiple Screen Sizes
- Desktop and laptop
- Tablet in portrait and landscape
- Small and large mobile screens
Look for text that is too small, horizontal scrolling, cropped images, overlapping sections, and buttons that are difficult to tap.
Submit Every Form
Send a real test through each form. Confirm the success message, email delivery, reply-to address, required fields, spam protection, and mobile layout.
Check Navigation and Links
Click every menu item and important button. Confirm that internal links open correctly and that external links point to the intended source. Fix placeholder links such as #.
9. Improve Images and Basic Performance
Upload correctly sized images instead of using very large originals everywhere. Compress images, use modern formats when supported, and add descriptive alt text when the image provides useful information.
Remove unused plugins, widgets, animations, and demo assets. Test the site before and after adding performance tools so you can identify what actually helps.
10. Set Up Updates, Security, and Backups
Update WordPress, the active theme, and required plugins after making a restorable backup. The official WordPress auto-updates guide explains how automatic updates can be managed per theme and plugin.
Use a Reliable Backup Schedule
Your backup should include the database and website files, use reliable storage, and have a tested restore process. Keep a new backup after the theme setup is complete.
Remove Unused Themes Carefully
Keep the active theme, its required parent theme, and one trusted default theme for troubleshooting. Remove other unused themes after confirming they are not needed.
11. Review SEO and Search Visibility
Create clear page titles, one logical main heading per page, descriptive URLs, useful meta descriptions, and internal links. Confirm that important pages are indexable when the site is ready for search engines.
Do not remove the search-engine visibility restriction too early on a staging or unfinished website. When launching, confirm the final setting and inspect your SEO plugin configuration.
12. Complete a Final Launch Review
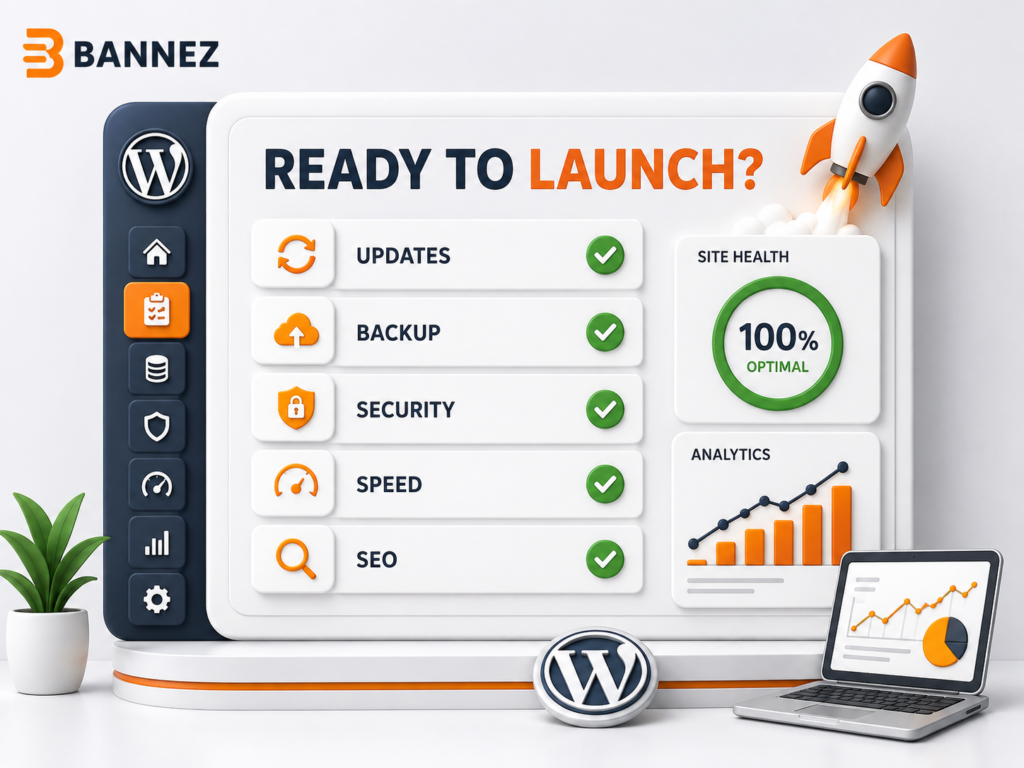
- ☐ Website uses HTTPS without mixed-content warnings
- ☐ Homepage and menu locations are correct
- ☐ Demo content and placeholder links are removed
- ☐ Logo, favicon, colors, and fonts are consistent
- ☐ Forms send and deliver correctly
- ☐ Mobile pages are readable and easy to use
- ☐ Important pages have clear titles and calls to action
- ☐ WordPress, theme, and required plugins are updated
- ☐ A complete backup has been created
- ☐ Search visibility is correct for the launch stage
When Professional Theme Customization Helps
If the theme is installed but the demo does not match your brand, content, or layout needs, you can explore our Complete WordPress Website Customization with Any Theme service. Our team can customize the supplied theme within the agreed scope and its available capabilities.
If you only need technical installation and available demo setup, our WordPress Theme Installation & Demo Setup service may be the more suitable option.
Frequently Asked Questions
Should I import demo content after activating a theme?
Only if the theme provides a demo you want to use. Import it on a clean or staging site when possible, and avoid running the importer repeatedly because it may create duplicate content.
Will changing the theme delete my content?
Posts and pages normally remain, but their presentation, widgets, menus, and theme-specific features may change. Create a full backup and test on staging before changing an established website.
Why does my site not look like the theme demo?
The correct demo, plugins, homepage, menus, templates, and theme settings may not be configured yet. Follow the theme developer’s documentation and confirm that the import completed successfully.
When should I create a backup?
Create one before installing or activating the theme, before major changes, and again after the final setup is complete.
Conclusion: Turn the Theme into a Real Website
A new theme is only the design foundation. Complete the branding, structure, content, settings, responsive checks, performance review, security setup, and backups before treating the website as finished.
Work through the checklist carefully and test the site like a visitor. A few hours of structured review can prevent broken forms, confusing menus, missing content, and avoidable launch problems.
