

Google Ad Manager Setup Guide for Beginners
Google Ad Manager can look complex when you first open it because it combines ad inventory, ad serving, direct campaigns, Google demand, targeting and reporting in one system. The easiest way to learn it is to understand the delivery flow first, then build your setup in the same order.
This beginner guide explains the core Google Ad Manager setup without assuming you already work in ad operations. The exact options available in your account can vary by account type and enabled features.
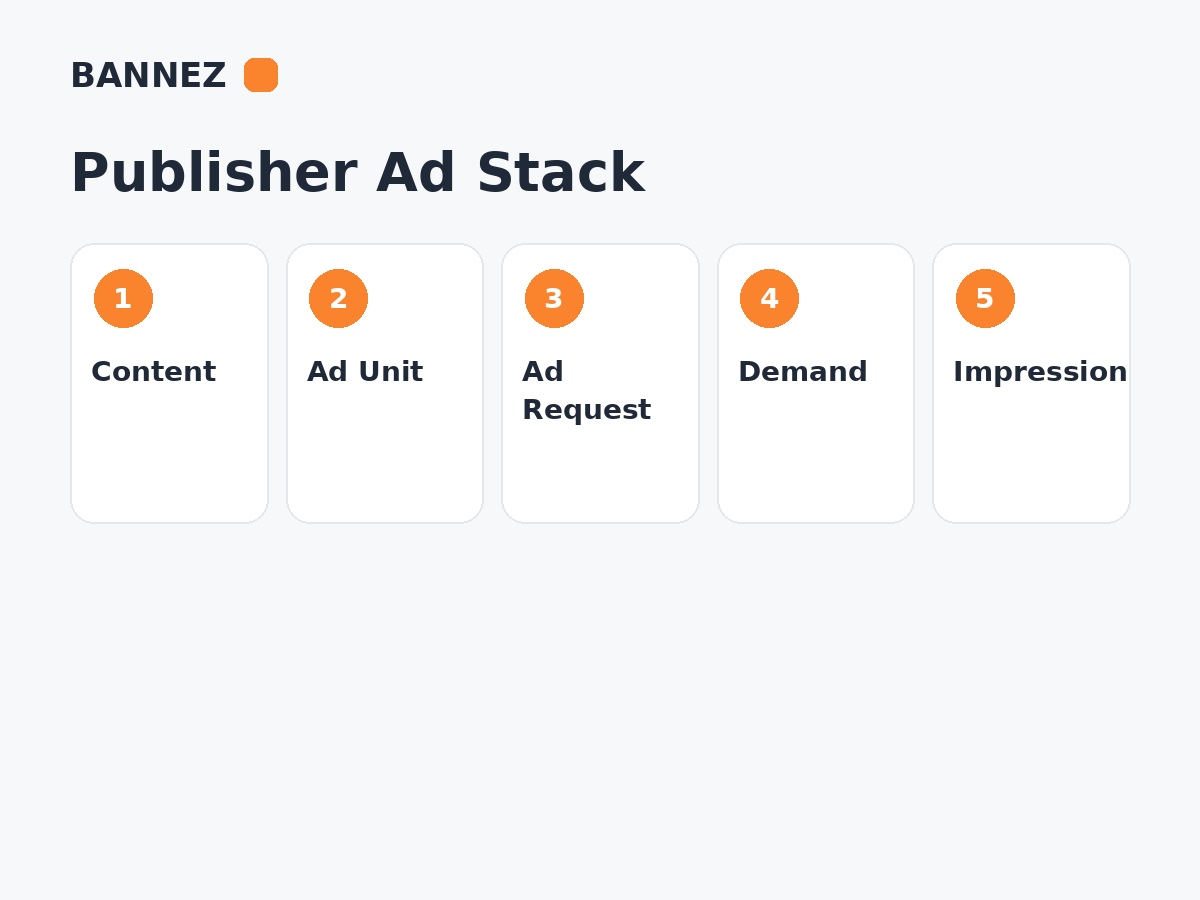
What Is Google Ad Manager?
Google Ad Manager is an ad management platform for publishers that need more control over advertising inventory and demand. Google explains that Ad Manager can manage campaigns on websites and apps, including direct-sold advertising and multiple demand sources.
For the official overview, see Google’s Get started with ads in Google Ad Manager guide.
If you are deciding between publisher products, read our Google Ad Manager vs AdSense vs AdX comparison.
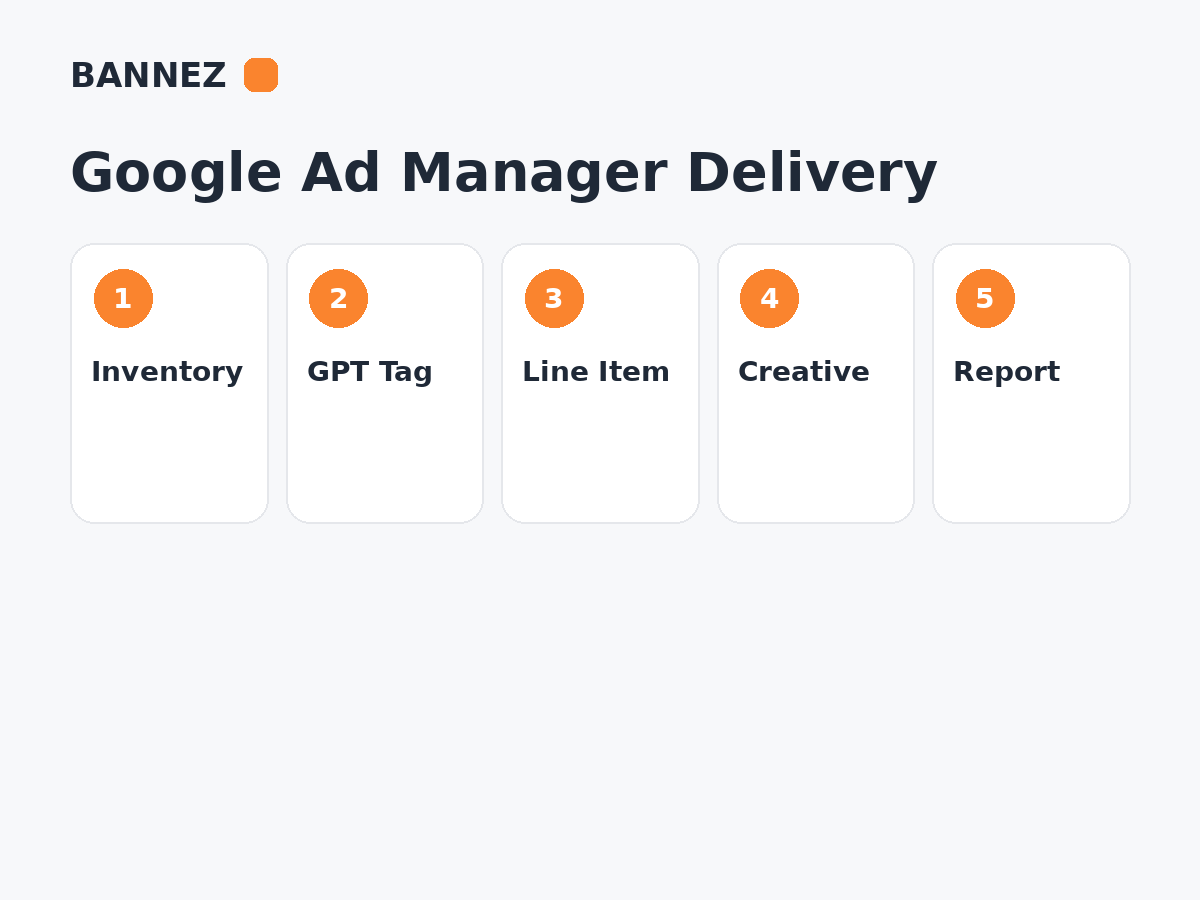
Google Ad Manager Setup Flow
A simple way to understand the platform is:
- Create and organize inventory.
- Create ad units for the places where ads can appear.
- Generate Google Publisher Tags for those ad units.
- Add the tags to your website.
- Create demand through orders, line items or supported programmatic demand.
- Add creatives.
- Test delivery.
- Review reporting and optimize.
Step 1: Plan Your Ad Inventory
Before creating ad units, decide where ads may appear on your site. Use names that describe the real placement instead of creating random codes you will not understand later.
Example inventory plan
- Homepage top banner
- Article in-content position 1
- Article in-content position 2
- Desktop sidebar
- Mobile anchor or other supported format
Keep the structure simple enough that you can identify each placement in reports.
Step 2: Create Ad Units
Ad units represent ad inventory on your website or app. Google allows ad units to be organized hierarchically, so larger publishers can use parent and child structures where useful.
Google’s current ad unit setup guide explains how to create and configure them.
When naming an ad unit
- Use a clear location or page-type reference.
- Include useful device or format information only when it helps operations.
- Avoid changing naming conventions randomly.
- Document important sizes and targeting rules.
Step 3: Choose Ad Sizes Carefully
Your ad unit can support one or more sizes depending on the placement. Choose sizes that fit your layout and demand strategy. Do not force an ad size into a container that breaks the page on smaller screens.
Responsive design should be considered before tags are placed, especially for in-content and mobile inventory.
Step 4: Generate Google Publisher Tags
Google Publisher Tag, commonly called GPT, is the web ad-tag library used to define inventory, initiate ad requests and render matching demand from Ad Manager.
Google provides a current Google Publisher Tag overview and an interface for generating ad tags.
A GPT implementation normally contains
- The GPT library
- Ad slot definitions
- Ad unit paths
- Supported sizes
- Optional targeting
- A display call or other supported rendering logic
Do not copy a tag from one ad unit into a different placement unless the inventory design intentionally uses that same unit.
Step 5: Add Tags to Your Website
Place the generated code in the correct areas of your page or template. For WordPress-specific implementation, see our How to Add Google Ad Manager Ads to WordPress guide.
If you need professional help placing or integrating website advertising, you can explore our Website Ad Placement & Ad Network Integration service. The service should be used only when its listed scope matches your ad platform and website requirements.
Step 6: Understand Orders and Line Items
For direct campaigns, an order groups the business relationship or campaign, while line items contain delivery details such as dates, quantity, price, targeting and creatives.
A line item can define
- Where ads can serve
- When the campaign runs
- How many impressions or another goal should be delivered
- Pricing
- Targeting
- Creative sizes
Choose line item types and priorities based on the actual commercial arrangement. Do not change priorities simply to force delivery without understanding how they compete.
Step 7: Add Creatives
A line item normally needs compatible creative assets before it can serve. Confirm that creative dimensions match the targeted ad sizes and that click-through URLs, third-party tags or other creative settings are correct.
Step 8: Test Before Sending Real Traffic
Do not assume an ad is working because the code exists on the page. Test the page and confirm that the slot makes a request and receives eligible demand.
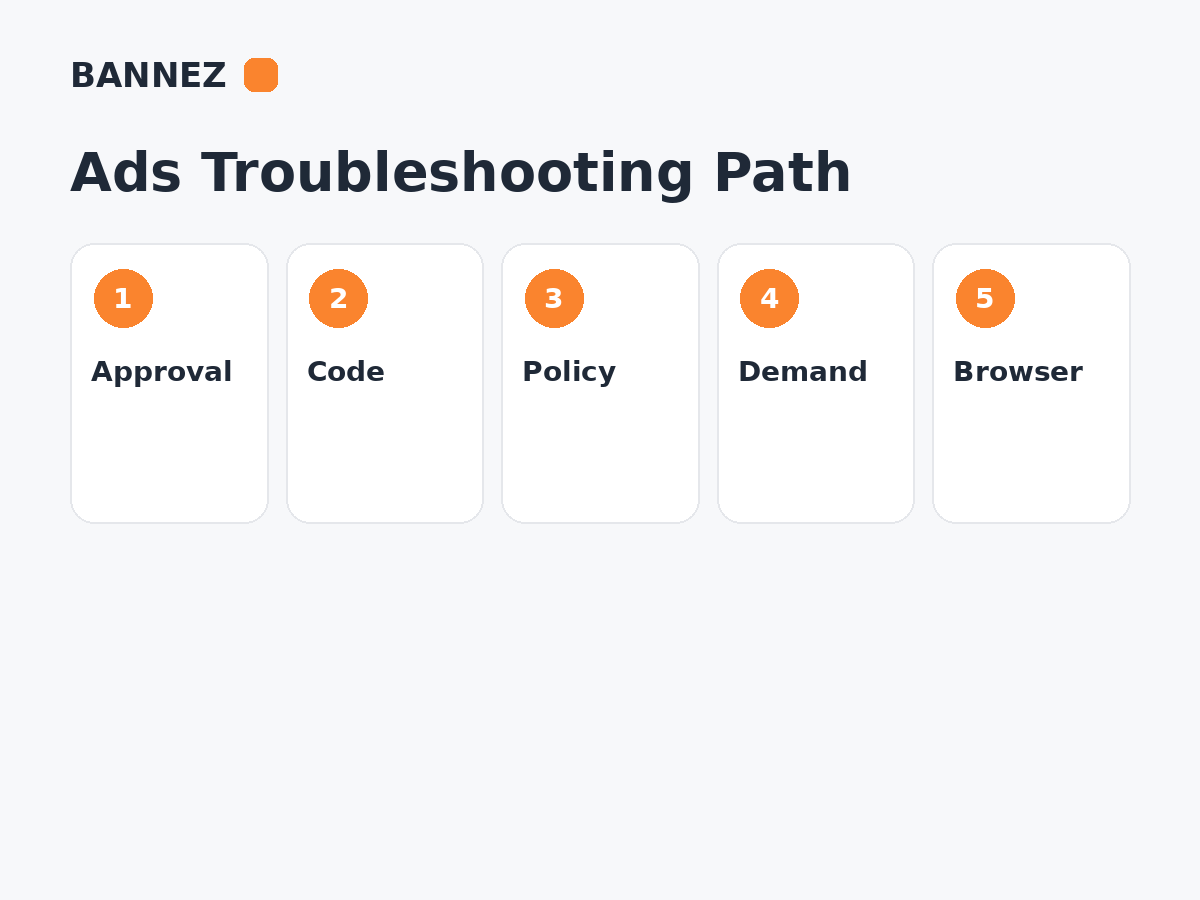
Basic delivery checks
- GPT library loads without JavaScript errors.
- Ad unit path is correct.
- Requested size is supported.
- An eligible line item or demand source exists.
- A compatible creative exists.
- Targeting does not unintentionally exclude the request.
- Consent or regulatory configuration is handled where required.
For a broader troubleshooting flow, read How to Fix Common Ad Manager and Website Ad Setup Problems.
Step 9: Review Reporting
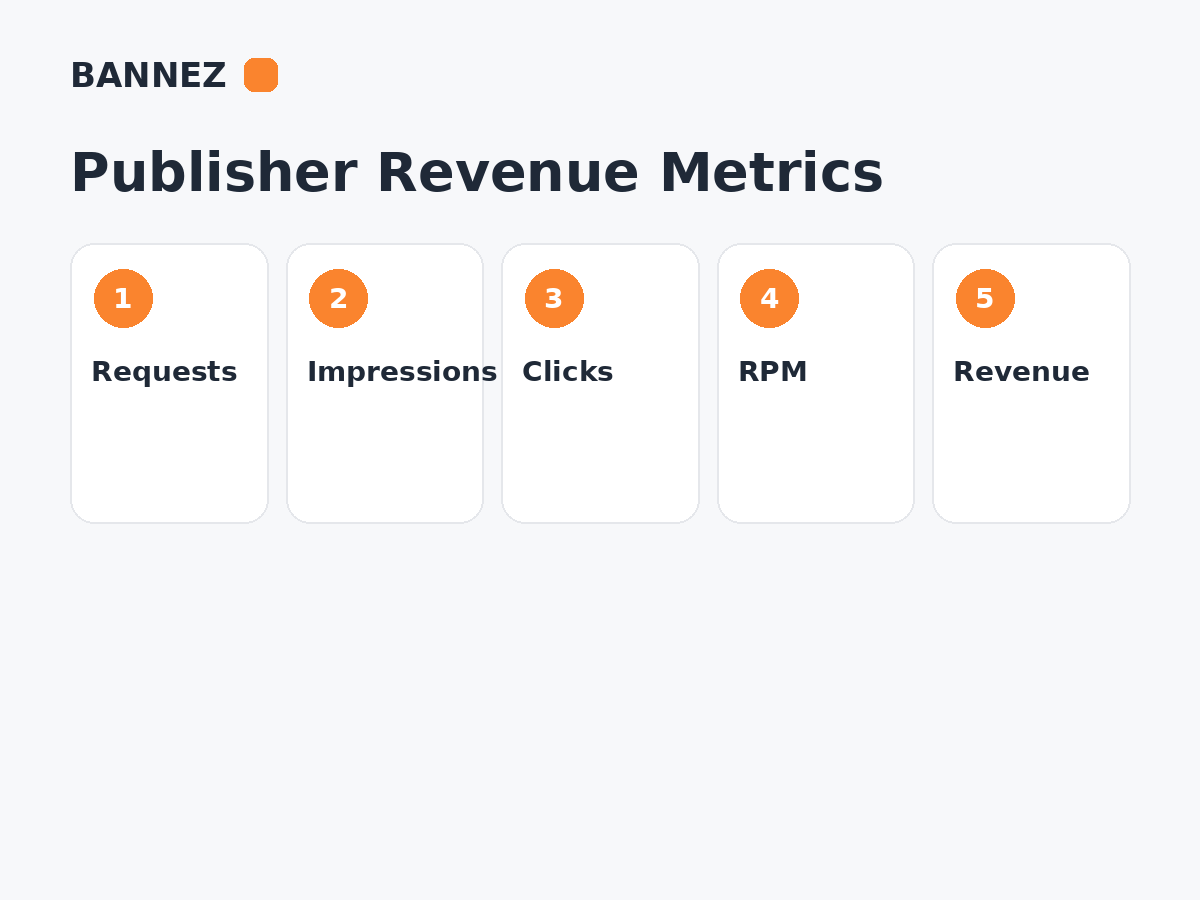
Use Ad Manager reporting to compare requests, impressions, unfilled inventory, clicks, revenue, viewability and other metrics that match your monetization model. Google has been moving publishers toward its newer Interactive Reports experience, so menu names can differ from older tutorials.
Common Beginner Mistakes
- Creating too many ad units before planning inventory
- Using unclear names
- Mixing wrong sizes with placements
- Adding tags but no eligible demand
- Forgetting creatives
- Over-targeting line items
- Testing with browser extensions that block ads
- Ignoring mobile layouts
- Judging performance only by CPM
- Making changes without comparing reports before and after
Google Ad Manager Beginner Checklist
- Inventory plan documented
- Ad units created with clear names
- Sizes reviewed for desktop and mobile
- GPT tags generated
- Tags installed in correct locations
- Orders/line items configured when required
- Creatives attached
- Delivery tested
- Unfilled impressions monitored
- Viewability and revenue metrics reviewed
Frequently Asked Questions
Do I need Google Ad Manager if I already use AdSense?
Not every publisher does. AdSense is simpler and more automated. Ad Manager is useful when you need more control over inventory, direct campaigns or multiple demand sources.
What is the difference between an ad unit and an ad tag?
An ad unit represents inventory inside Ad Manager. The ad tag is the code placed on your website so that inventory can request and render ads.
Can I use Ad Manager on WordPress?
Yes. WordPress can load Google Publisher Tags through suitable theme, plugin or custom integration methods.
Why is my new ad unit blank?
A correct ad unit can still be blank if no eligible line item or demand source can serve, the tag is wrong, targeting blocks delivery, the creative is incompatible or another implementation issue exists.
Conclusion
Google Ad Manager becomes easier when you treat it as a delivery chain: inventory creates the available space, tags make requests, demand competes to serve, creatives render, and reporting tells you what happened.
Start with a small, documented inventory structure. Test every placement before expanding, then use reporting to identify delivery, viewability and revenue problems instead of making changes based on guesswork.
